The May 2019 update of Windows 10 (version 1903) introduced a new feature which allows users to Pause Updates for 7 days. This post covers how to disable that feature in a domain environment.

Update ADMX Templates from build 1903
At the time of writing this post, Microsoft have not made an updated ADMX template bundle for the May 2019 update of Windows 10.
So the easiest (but maybe not ideal) solution is to copy the ADMX files from an updated Windows 10 machine to your central store, you can find them in:
C:\Windows\PolicyDefinitions
Simply copy the contents of the folder into your domain controller, most likely in:
C:\windows\SYSVOL\domain\Policies\PolicyDefinitions
Make sure that you copy the definitions from an updated version of Windows 10, check the version using these instructions.
If you do not have easy access to the files, I have made them available here. But please understand that the zip file contains only the en-US and en-GB folders, so if you need another language then this download will not be suitable for your environment:

Edit Group Policy Settings to disable the Pause Updates feature
Once you have updated the Policy Definitions on your domain controller, you will be able to disable the pause updates feature by doing the following:
- Open Group Policy Management
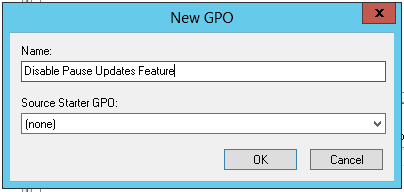
- Create and Link a new Group Policy or edit an existing one which targets the machines you want to edit the behaviour on.
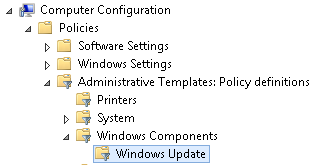
- Navigate to:
- Computer Configuration
- Policies
- Administrative Templates
- Windows Components
- Windows Updates
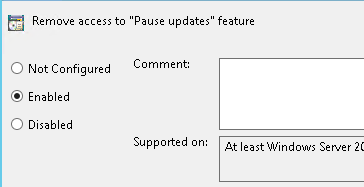
- In the right hand pane, double click on:
Remove access to “Pause updates” feature - Set it to “enabled” to disable access to the feature.
Now you can either reboot or force a group policy update and the option to pause updates will have been disabled.
Leave a Reply