This post explains how to update a Hyperlink Column in SharePoint Online using Power Automate. Unlike most field types, the hyperlink column has two components, the link address and the alternative text:

But when you try to create or update an item with a Hyperlink field in Power Automate, you are given only one field to populate:
The link text then becomes both the hyperlink and the descriptive text. If you have a long URL, this can ruin the look of your list and be confusing for users.
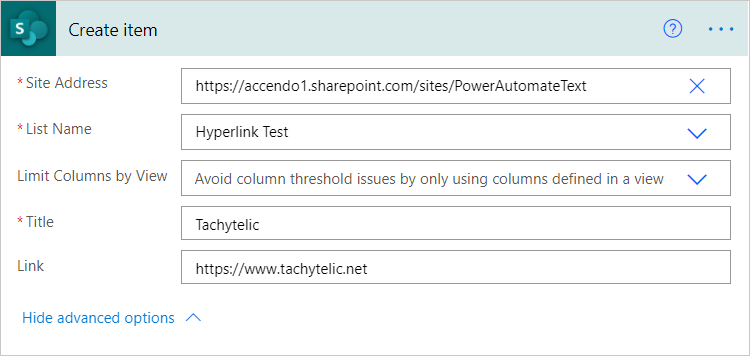
Create Hyperlink by using the Send an HTTP Request to SharePoint action
The solution is to use the “Send an HTTP Request to SharePoint” action to set both the URL and the Alternative text. This action would normally follow a Create Item action.
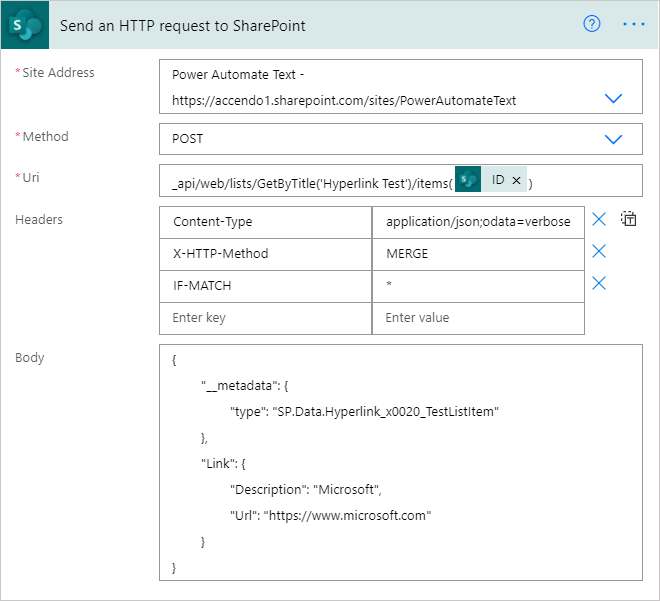
Select your Site Address and set the method to POST then set the URI to:
_api/web/lists/GetByTitle('Hyperlink Test')/items(ItemID)Modify the above to contain your list name in place of “Hyperlink Test” and replace ItemID with the ID of your item, or dynamic content which references it.
Next set the Headers to the following:
{
  "Content-Type": "application/json;odata=verbose",
  "X-HTTP-Method": "MERGE",
  "IF-MATCH": "*"
}
You can copy and paste the JSON above if switch the headers to text mode:

Next is where the fun begins, an example HTTP Body looks like this:
{
	"__metadata": {
		"type": "SP.Data.Hyperlink_x0020_TestListItem"
	},
	"Link": {
		"Description": "Microsoft",
		"Url": "https://www.microsoft.com"
	}
}
But to make it easier for you, you can just type your list name, link description and Url into the form below and the correct code will be generated for you.
Copy the code generated above into the HTTP Body and then replace the static values with your dynamic content. The complete action looks like this:
Give it a try and see how you get on. It is quite straightforward. I hope that in the future the standard actions will handle creating and updating Hyperlink fields better and there will be no need to do this in the future.